POLSKI
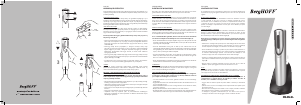
KORKOCIĄG ELEKTRYCZNY
Przed pierwszym użyciem zalecamy podłączenie korkociągu do ładowarki na co
najmniej osiem godzin. W celu naładowania urządzenia należy zastosować się do
poniższej instrukcji.
ŁADOWANIE KORKOCIĄGU
Jeden koniec kabla zasilacza należy włożyć do gniazdka znajdującego się w
ładowarce, drugi do gniazdka sieciowego. Korkociąg należy umieścić w ładowarce,
upewniając się, że jego pozycja jest właściwa i że jest on podłączony do złączy
ładowarki. Ładowanie korkociągu zajmuje około 6-8 godzin. W pełni naładowany
korkociąg umożliwia otwarcie około 30 butelek.
OBSŁUGA KORKOCIĄGU
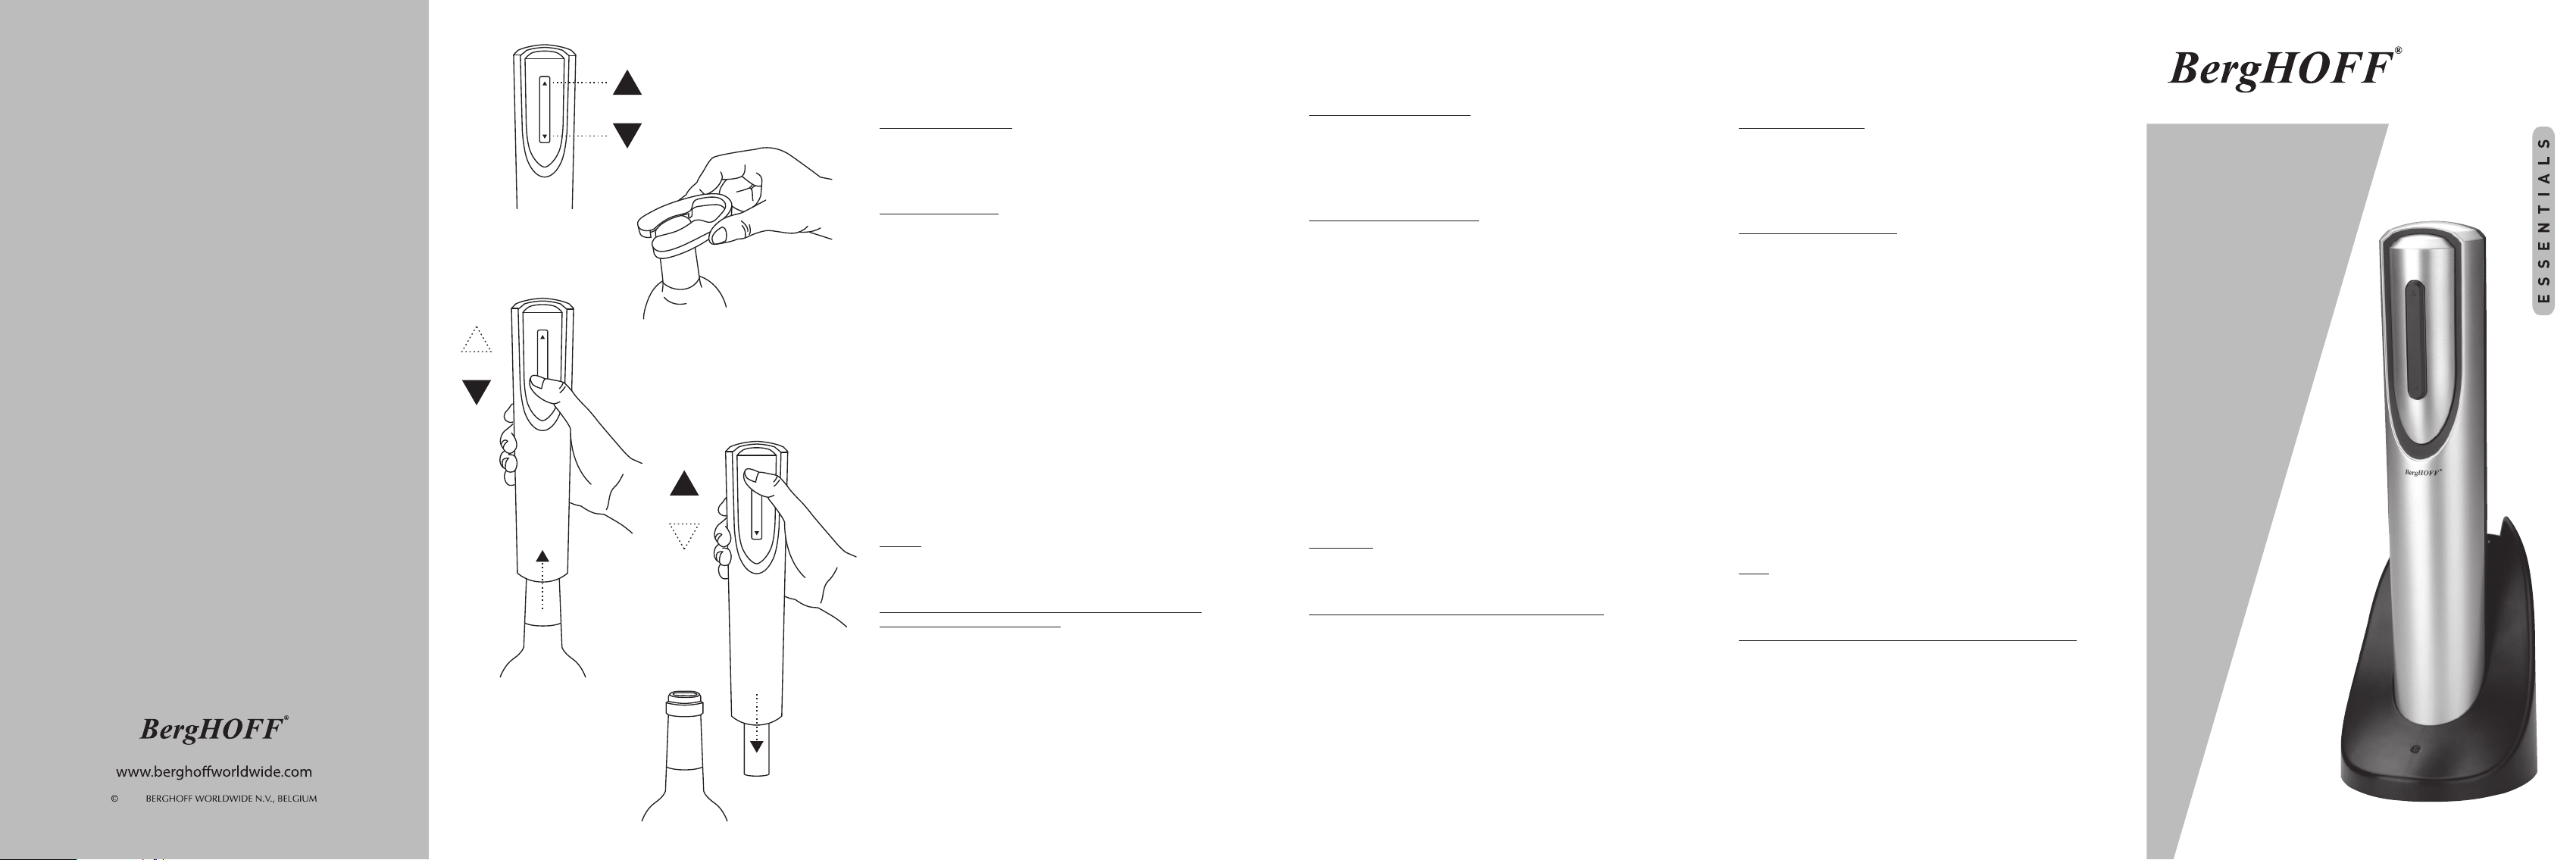
Do obsługi korkociągu służy jeden prosty przycisk. Spełnia on dwie funkcje.
Naciśnięcie dolnej części przycisku pozwala na wyciągnięcie korka z butelki.
Naciśnięcie górnej części przycisku po wyciągnięciu korka z butelki umożliwia
wyjęcia korka z korkociągu (1).
Przed użyciem korkociągu z główki butelki należy usunąć folię za pomocą
załączonego nożyka (2).
• Korkociąg należy umieścić na butelce. W trakcie otwierania urządzenie powinno
przez cały czas znajdować się w pozycji pionowej. W przypadku ustawienia
korkociągu pod kątem do butelki właściwe wyjęcie korka może się okazać
niemożliwe (3).
• Korkociąg należy mocno przytrzymać, a następnie nacisnąć dolną część
przycisku. Spirala korkociągu zacznie się kręcić zgodnie z ruchem wskazówek
zegara, zagłębi się w korek, a następnie stopniowo wyciągnie go z butelki.
Zatrzymanie mechanizmu korkociągu oznacza, że korek został całkowicie
wyciągnięty z butelki.
• Korkociąg należy zdjąć z butelki. Aby wyjąć korek z korkociągu, należy nacisnąć
górną część przycisku. Spirala zacznie się kręcić przeciwnie do ruchu wskazówek
zegara, uwalniając korek (4).
• Po zakończeniu pracy korkociąg należy z powrotem umieścić w ładowarce.
Zapewnia to ochronę mechanizmu, gdy urządzenie nie jest używane.
UWAGA:
wyjęcie za pomocą korkociągu elektrycznego niewielkiej liczby korków
plastikowych/syntetycznych oraz korków o mniejszych rozmiarach może się
okazać niemożliwe. W takiej sytuacji korek należy usunąć ręcznie.
PROSIMY O ZAPOZNANIE SIĘ Z PONIŻSZYMI WSKAZÓWKAMI
DOTYCZĄCYMI BEZPIECZEŃSTWA.
Aby zapobiec groźbie pożaru, porażenia prądem lub uszkodzenia ciała, w
trakcie użytkowania urządzenia należy przestrzegać poniższych wskazówek
dotyczących bezpieczeństwa.
• Przed uruchomieniem urządzenia należy zapoznać się z całą instrukcją obsługi.
Instrukcję należy zachować na przyszłość.
• Użytkowanie i ładowanie korkociągu powinno mieć miejsce w czystym i wolnym
od potencjalnych zagrożeń otoczeniu.
• Korkociągu nie wolo używać w miejscach wilgotnych, w pobliżu wody, zlewów i
kranów.
• Korkociągu ani ładowarki nie wolno zanurzać w wodzie.
• Urządzenie może być używane tylko w pomieszczeniach zamkniętych.
Korkociągu i ładowarki nie wolno wystawiać na działanie deszczu lub innych
szkodliwych czynników.
NEDERLANDS
ELEKTRISCHE WIJNOPENER
We raden u aan om de kurkentrekker minstens 8 uur op te laden voor het eerste
gebruik. Gelieve de instructies hieronder te volgen voor het herladen.
UW KURKENTREKKER HERLADEN
Sluit het ene uiteinde van het adaptersnoer aan op het laadstation en steek het
andere uiteinde in een stopcontact. Plaats de kurkentrekker in het laadstation.
Zorg ervoor dat hij stevig gepositioneerd is en volledig contact heeft met de
laadconnectoren. Het herladen van uw kurkentrekker neemt ongeveer 6 tot 8 uur
in beslag. Met een volledig opgeladen kurkentrekker kan u ongeveer 30 essen
openen.
GEBRUIK VAN DE KURKENTREKKER
De kurkentrekker wordt bediend door middel van één enkele schakelaar. Deze
schakelaar heeft 2 functies. Druk op het onderste deel van de schakelaar om een
kurk uit een es te verwijderen. Druk op het bovenste deel van de schakelaar om
de verwijderde kurk los te maken van het mechanisme (1).
Voor u de kurkentrekker gebruikt, dient u eerst alle folie van de bovenkant
van de es te verwijderen met behulp van de voorziene foliesnijder (2).
• Plaats de kurkentrekker bovenop de wijnes. Zorg ervoor dat hij steeds zo recht
mogelijk op de es staat. Als de kurkentrekker schuin op de es staat, wordt de
stop niet goed verwijderd (3).
• Houd de kurkentrekker stevig vast en druk op het onderste deel van de
schakelaar. De kurkentrekker boort zich met de klok mee in de kurk en verwijdert
hem gelijkmatig uit de es. Wanneer het mechanisme van de kurkentrekker
stopt, is de stop volledig uit de es verwijderd.
• Haal de kurkentrekker van de es. Om de kurk uit het mechanisme te halen,
drukt u op het bovenste deel van de schakelaar. De spiraal draait nu tegen de
klok in en ontdoet zich zo van de stop (4).
• Plaats de kurkentrekker na gebruik steeds terug in het laadstation. Zo wordt het
mechanisme beschermd wanneer het niet gebruikt wordt.
OPMERKING:
We hebben vastgesteld dat de elektrische kurkentrekker problemen kan hebben
met enkele plastic/synthetische stoppen en extra kleine stoppen. In dit geval
dient u de stop handmatig te verwijderen.
LEES DEZE BELANGRIJKE VEILIGHEIDSVOORSCHRIFTEN.
Bij gebruik van dit elektrisch apparaat dient u volgende veiligheids-
voorzorgen in acht te nemen om het risico op brand, elektrische schok en
persoonlijke verwondingen te voorkomen.
• Lees alle instructies voor het eerste gebruik en bewaar ze voor toekomstige
raadpleging.
• Bij gebruik of herladen van de kurkentrekker houdt u het werkblad schoon en
vrij van mogelijke risico’s.
• Gebruik de kurkentrekker nooit in vochtige ruimtes of in de buurt van water,
gootstenen of kranen.
• Dompel de kurkentrekker of het laadstation nooit onder in water.
• De kurkentrekker is niet geschikt voor buitengebruik. Stel de kurkentrekker of
het laadstation niet bloot aan regen of andere extreme omstandigheden.
ITALIANO
CAVATAPPI ELETTRICO
Ti consigliamo di caricare il cavatappi per almeno otto ore prima di utilizzarlo per
la prima volta. Si prega di seguire le istruzioni per la ricarica che sono riportate di
seguito.
RICARICA DEL CAVATAPPI
Inserire un’estremità del cavo dell’adattatore nella base dell’unità di ricarica
e l’altra estremità in una presa. Collocare il cavatappi nell’unità di ricarica,
assicurandosi che sia saldamente in posizione e completamente innestato con
i connettori di ricarica. Ci vorranno circa 6-8 ore per ricaricare il tuo cavatappi.
Quando il cavatappi è completamente ricaricato, può essere utilizzato per aprire
circa 30 bottiglie.
COME UTILIZZARE IL CAVATAPPI
Il cavatappi è azionato da un semplice interruttore. L’interruttore ha due funzioni.
Premere la parte inferiore dell’interruttore per rimuovere un tappo da una
bottiglia. Premere la parte superiore dell’interruttore per rilasciare il tappo dal
meccanismo dopo averlo rimosso dalla bottiglia (1).
Prima di usare il cavatappi, è necessario rimuovere qualsiasi tipo di foglio a
copertura del tappo dalla parte superiore della bottiglia usando la taglierina
fornita (2).
• Posizionare il cavatappi sulla parte superiore della bottiglia di vino. Assicurarsi
che rimanga il più verticale possibile in ogni momento. Se si tiene il cavatappi
inclinato rispetto alla bottiglia, non rimuoverà correttamente il tappo (3).
• Tenere saldamente il cavatappi e premere la parte inferiore dell’interruttore. La
spirale del cavatappi girerà in senso orario, entrerà nel tappo e poi gradualmente
lo rimuoverà dalla bottiglia. Quando il meccanismo del cavatappi si sarà
arrestato, il tappo sarà stato completamente rimosso dalla bottiglia.
• Sollevare il cavatappi dalla bottiglia. Per rimuovere il tappo, basterà premere la
parte superiore dell’interruttore. La spirale girerà in senso antiorario e rilascierà il
tappo (4).
• Riporre sempre il cavatappi nell’unità di ricarica ogni volta che si è nito di
utilizzarlo. Questo proteggerà il meccanismo mentre non è in uso.
NOTA:
Il cavatappi elettrico potrebbe presentare problemi nel rimuovere una piccola
percentuale di tappi in plastica / sintetici e tappi sottodimensionati. In questo
caso il tappo dovrà essere rimosso manualmente.
LEGGERE QUESTE IMPORTANTI AVVERTENZE SULLA SICUREZZA.
Quando si utilizza questo elettrodomestico, è necessario prendere in
considerazione le seguenti misure di sicurezza per ridurre il rischio di
incendio, scosse elettriche e lesioni personali.
• Leggere tutte le istruzioni prima del primo utilizzo e salvarle per riferimento
futuro.
• Quando si usa o si ricarica il cavatappi, tenere la supercie di lavoro pulita e priva
di potenziali pericoli.
• Non usare mai il cavatappi in zone umide o vicino a acqua, lavandini o rubinetti.
• Non immergere mai il cavatappi o il caricabatterie in acqua.
• Il cavatappi è progettato esclusivamente per uso interno. Non esporre il
cavatappi o l’unità di ricarica alla pioggia o ad altre condizioni estreme.
1
2
3
4
MANUAL
1100197
2018

Join the conversation about this product
Here you can share what you think about the BergHOFF 1100197 Corkscrew. If you have a question, first carefully read the manual. Requesting a manual can be done by using our contact form.