- In a second time, you can adjust the desired setting
temperature with (-) or (+), press (OK) to start the function.
(Default value 24°C)
The logo will blink and the number of hours /days left is
displayed until the end of the period.
If you want to stop the Timer function before the end, set
the duration period to “no” with (-) key or use the navigation
keys (◄) or (►).
3.8. Reversible mode
The reversible mode allows you to choose the working mode
for your installation.
By pressing on (-) or (+) keys, the selected working mode
blinks and can be modified. The user can then choose:
- Hot : the installation operates in heating mode (winter)
- CLd : the installation operates in cooling mode (summer).
Warning: this menu is available if user activates parameter 21
in Installer’s advanced Menu (refer to chapter 8)
During this selection, the status LED will be red color if heating
is selected or green color if cooling is selected.
By pressing (OK) key, you validate you selection. By pressing
(◄) or (►) key or the ( ) key, you come back to the current
working mode of the thermostat.
Remarks:
- This menu is only available if the parameter “21” has been set
to “REv” (refer to chapter 8)
- This mode is not available if thermostat is linked with a central
(BT-CT02).
4. Special functions
4.1. Key lock
Use this function to prevent all change of your settings (In a
child room, public area…)
- To activate the Key lock function, first press maintain the
escape key ( ) and then press simultaneously on the edition
key ( ).
- The “ ” logo will be displayed on the screen.
Repeat the same procedure to unlock the key board.
4.2. Open window function
This function is able to stop heating if thermostat detects an
unusual decrease of temperature (open window).
Principle:
If the displayed temperature (internal or ambient sensor)
decreases by 3°C or more during a 5 minutes period (or less),
the thermostat stops heating for 15 minutes. If the temperature
continues decreasing, it continues to stop.
During this stop, the room temperature will blink.
Return to normal mode:
The thermostat returns automatically to normal mode after the
stop period.
The function can be overridden by pressing the (OK) button
during the stop heating phase.
The blinking temperature should stop to indicate the end of the
detection.
Special cases:
- This function doesn't work if thermostat is in Floor regulation
- This function doesn't work if thermostat is in OFF or
Antifreeze Mode
- If temperature is less than 10°C, thermostat will regulates at
10°C during the stop phase (refer to chapter 5, parameter 06)
- This function doesn’t work in Cooling mode
4.3. Humidity measurement
(
*
)
Thermostats measure the humidity in the air. This measure
allows:
- To regulate the humidity in the air (refer to parameter 34 in
chapter 8)
- To protect your system against condensation (refer to
parameter 35 in chapter 8).
4.4. Visualization
With this function, you can quickly view the current
temperatures of the different sensors connected on your
thermostat (floor, remote, external). To do so, on the main
screen, press several times on the escape key ( ). This “scroll
function” is only available on the main screen:
You will see in the order of each press:
1/ the setting temperature followed by the thermostat
2/ the ambient temperature
3/ if the external sensor is connected: the outside temperature
4/ the humidity percentage (*)
Remarks :
- refer to chapter 1.2 for icon meanings
- If Parameter “Sen” is set on “Air” (refer to chapter 8), the
remote sensor will be used as an external sensor.
5. Parameter’s menu
Your thermostat has a parameter’s menu. To enter in this
menu, press and maintain the edition key ( ) during 5sec.
Then parameter menu will appear and first parameter screen
will be displayed
Now you can select a parameter which must be adjusted with
the navigation keys (◄) or (►), once the parameter chosen,
toggle the value with the (OK) key, modify it with (-) or (+) and
confirm your adjustment with (OK).
To leave the parameter menu, choose the parameter « End »
and press (OK
)
or Return key ( ).
N° Default value & other possibilities
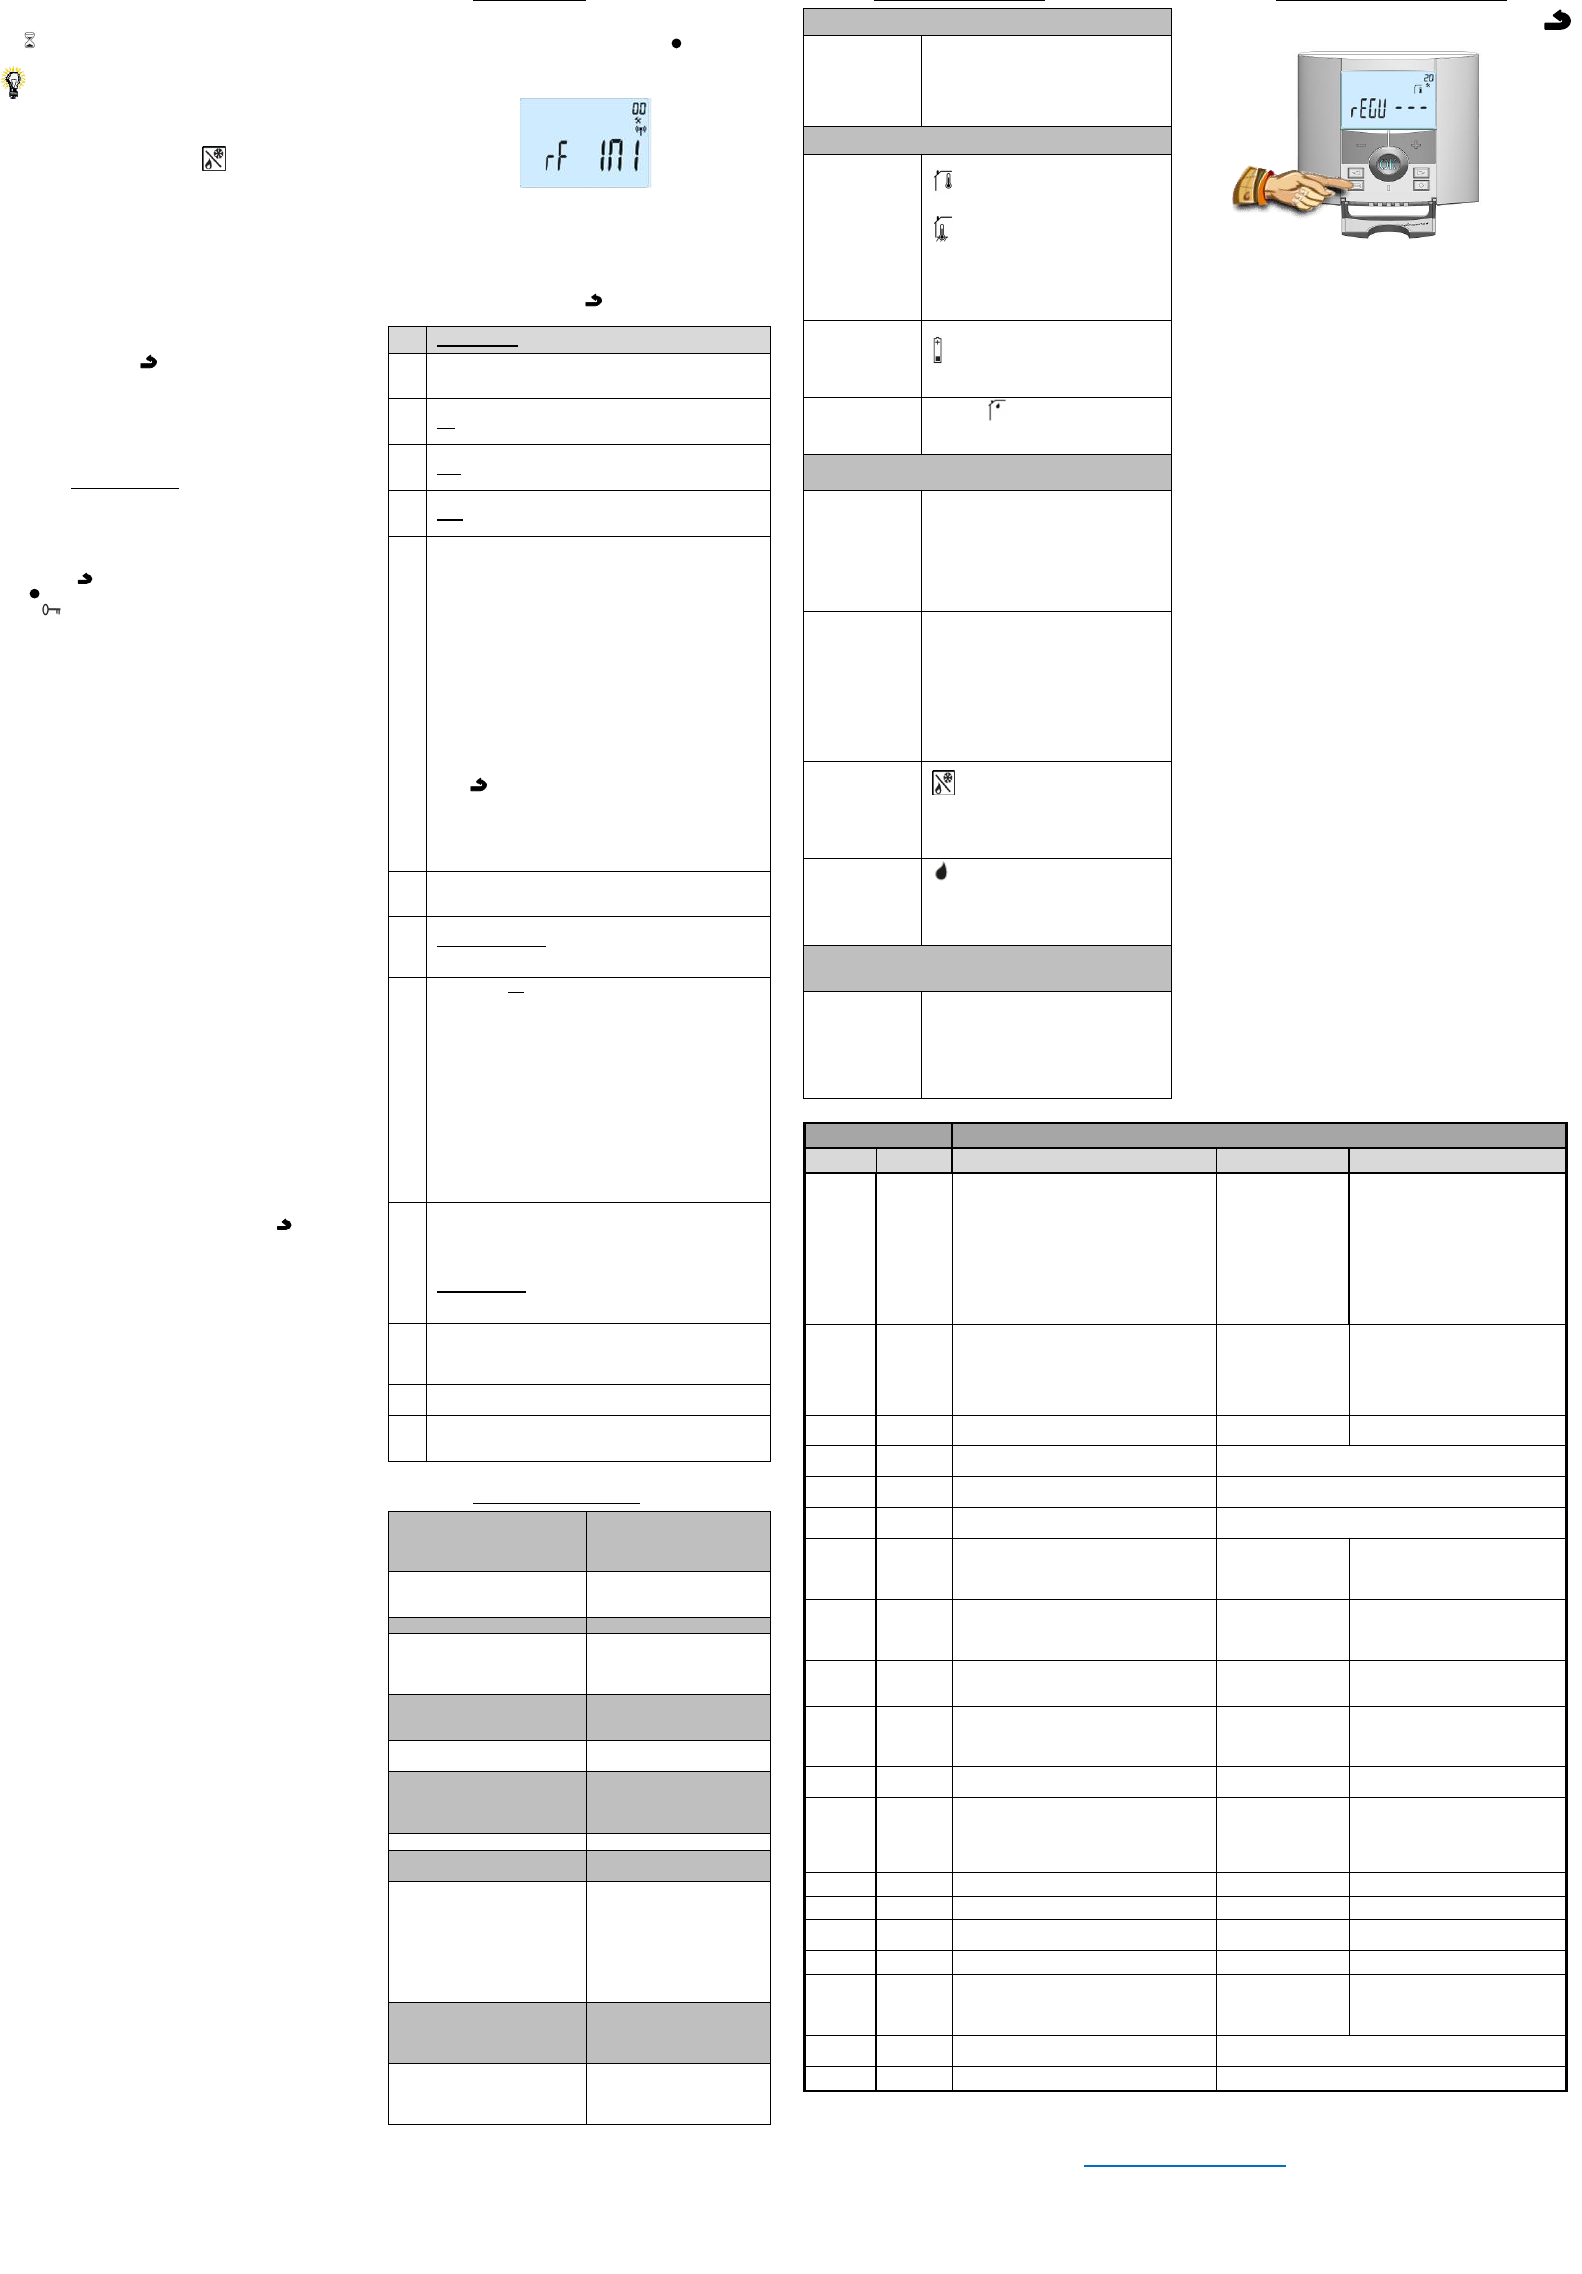
Radio configuration mode for wireless communication
(refer to chapter 2.2)
Unit of the temperatures displayed
°C Celsius
°F Fahrenheit
Selection of the Time clock unit
24H (24:00)
12H (12:00 AM /PM)
Daylight Summer time change Summer<->Winter
YES automatic change according to date.
no no daylight summer time automatic change.
:
Calibration of the internal probe
The calibration must be done after 1 day working with
the same setting temperature in accordance with the
following description:
Put a thermometer in the room at 1.5M distance from
the floor (like the thermostat) and check the real
temperature in the room after 1 hour.
When you enter on the calibration parameter “no” is
displayed on the right to indicate no calibration has
made.
To enter the value shown on the thermometer, use the
(-) or (+) keys to enter the real value. Then, press (Ok)
to confirm.
The message “Yes” should be displayed; the value will
be stored in the internal memory.
If you need to erase a calibration press on the escape
key ( ).
The old value will be erased and the message “no” will
be displayed.
* Pay attention:
Only the heating element driven by the thermostat must
be used during the complete step of the calibration.
:
Calibration of the external wired probe
Same calibration method as described in parameter
“04 AirC” above.
used in Holiday mode
Default value 10°C.
Use the (-) or (+) keys to change the anti-freeze setting
temperature. Then press (Ok) to confirm.
The Intelligent Temperature Control System will activate
your installation in advance (2 hours maximum) to
assure the desired temperature at the hour
programmed following your weekly program.
This automatic control system works in the following
way:
When you start your thermostat for the first time, it will
measure the time taken by your installation to reach the
set temperature. The thermostat will re-measure this
time at each program change to compensate external
temperature change & influence. You can now program
your thermostat without the need to adjust the
temperature in advance because your thermostat does
it automatically for you.
:
Press and maintain (Ok) key during 5s to reset Set
points temperatures and user parameters in this menu
to factory default settings. User programs will also be
resetted.
Pay attention:
Ensure you that you have all necessary elements to re-
setup your installation before using this function.
Displayed only if the BT-DRF-02 is linked with a
multizones receiver
CHAn—
--: number of the linked zone
Software version
VErS ___
:
Exit the parameter’s menu
Press (OK) key to exit installation parameter menu and
return to normal operation.
6. Technical characteristics
Environmental:
Operating temperature:
Shipping and storage
temperature:
0°C - 40°C
-10°C to +50°C
Electrical Protection
Installation Category
Pollution Degree
IP30
Class II
2
Temperature precision 0.1°C
Setting temperature range
Comfort, Reduced
Holiday (Antifreeze)
Timer
0,5°C step
5°C to 37°C
0,5°C to 10,0°C
5°C to 37°C
Regulation characteristics
Proportional Band (PWM
2°C/10min)
or Hysteresis 0.5°C
Power Supply
Operating life
2 AAA LR03 1.5V Alkaline
~2 years
Sensing elements:
Internal & External (option)
Internal: NTC 10k at 25°C
External: NTC 10k at
25°C (ß = 3950)
Radio Frequency 868 MHz, <10mW.
Software version
Showed in parameter
menu. Vers xxx
Compatible receivers
BT-M6Z02 RF
BT-FR02RF
BT-WR02RF / BT-WR02HC
BT-PR02RF
Other receivers can be
compatible : check on the
instruction manual of your
receiver
Your product has been
designed in conformity with
the European Directives.
R&TTE 1999/5/EC
EMC 004/108/EC
RoHS 2011/65/EU
Product conformed to :
Classification :
Contribution :
UE 811/2013 and
2010/30/UE
IV
(2%)
7. Troubleshooting & Solution
My BT DRF-02 doesn’t start
Batteries
Problem
- Check if the protection sticker on the
batteries is removed.
- Check the batteries orientation.
- Check the capacity of the batteries
My BT DRF-02 Led, blinks in Red
Problem on
sensors
The logo blinks (air sensor)
- Contact your installer or seller.
The logo blinks (Floor sensor)
- Check the connection of the sensor.
- Disconnect the sen
an ohmmeter (the value must be around
10kohms)
Batteries level
is too less
The logo blinks (Batteries)
- Replace the batteries.
Humidity
measurement
problem (*)
The logo blinks and the thermostat
displays “Err”
- Contact your intaller
My BT DRF-02 seems work correctly but the heating or
the cooling doesn’t work correctly
Output
On the receiver:
- Check the good reception of RF signal
- Check the connections.
- Check the power supply of the heating
element.
- Contact your installer.
RF
communication
- Check the following points :
- The receiver must be put at a
minimum distance of 50cm of all others
electrical or wireless materials (GSM,
Wi-Fi..)
- The receiver shouldn’t be fixed on a
metallic part or too close of hydraulic
pipes… (Copper…)
Configuration
The logo blinks :
- Cooling request is made by the
central (BT-CT02) but the thermostat
doesn’t allow (refer to parameter 21
chapter 8).
Humidity
protection (*)
The logo blinks:
- humidity regulation is activated (refer to
parameter 34 in chapter 8)
- condensation is detected (refer to
parameter 35 in chapter 8)
My BT DRF-02 seems work correctly but the
temperature in the room was never in accordance with
the setting temperature.
Program
- Try to calibrate your thermostat (refer
to user menu parameter 04)
- Contact your installer, to check &
adjust the regulation parameters with
your heating system.
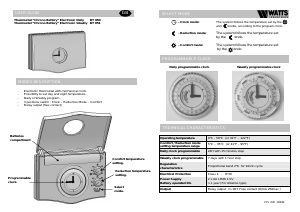
8. Advanced installer’s parameter menu
In order to enter in the menu, press on the escape key
during 5 seconds
The display with the first parameter appears ( « rEGU »).
- Once you entered in the menu, go to the parameter which you
want change by using the keys (◄) or (►).
- Use the keys (+) or (-) to edit and modify and confirm by
pushing the (OK) key.
- To leave the parameter menu, go to the parameter “End” and
press the (OK) key.
Parameters Installer’s Advanced Menu
N° names Description of the parameter Factory value Other possibility
20
REGU
Selection of the sensor used for the
regulation.
“AIR”
Internal ambient
sensor
External ambient sensor
Following option aren’t available
with all receivers
“FLR”
Floor sensor regulation
“FL.L”
Air regulation with floor limitation
possibilities
(refer to parameters 25&26)
21
MOde
Working mode selection of the thermostat
“Hot”
Heating mode
Cooling mode
“rEv”
reversible menu activation
“Aut”
Automatic mode
21
(**)
Cld
Use this option if you want to allow the
zone to work in cooling mode
Function activated
Function deactivated
22
AirS
View of the measured values of the
internal sensor.
“__._” °C/°F
23
AmbS
View of the measured values of the
external (Ambient) sensor.
“__._”°C/°F
24
RecS
View of the measured values of the floor
sensor connected to the receiver.
“__._”°C/°F
25
FL.Lo
Lower limit of the floor temperature.
The lower
limitation is not
used
From 5°C to “FL.Hi”
26
FL.Hi
Upper limit of the floor temperature.
The upper
limitation is not
used
From “FL.Lo” to 40°C
27
reg
Selection of regulation type.
Proportional band
(PWM)
“hys”
Hysteresis (On/Off)
28
UF1
Concrete choice.
For liquid concrete
with low thickness
< 6cm
For traditional concrete with
thickness
> 6cm
29
Bp1
Floor covering choice.
For tiling
For wood parquet (floating or not)
30
Uir
Pilot wire function for French Market
application:
Use this option if your installation has the
pilot wire installed in combination with an
energy saver.
“yes”
Function activated
“no”
Function deactivated
31
min
Minimal value of the setting range.
5.0°C From 5°C to 15.0°C
32
MAX
Maximal value of the setting range.
37.0°C From 20°C to 37.0°C
33
Uin
Automatic open window detection.
(Refer to chapter 4.2)
Function activated
Function deactivated
34(*)
rH
Percentage value of the humidity setting
55% From 0% (“no”) to 100%
35(*)
dEv
Anti-condensation function
(when condensation is detected, cooling
system is stopped or/and dehumidifier is
activated)
“yes”
Function activated
“no”
Deactivated function
36
Clr EEp
All parameters will be reloaded with the
factory value.
Press on the (OK) key during few seconds.
37
End
To exit the installer’s menu
Press on the (OK) to exit.
(*): concerns version with humidity sensor
(**): concerns thermostat if it is linked with a central (BT-CT02) or with a BT-M6Z02 RF
http://www.wattselectronics.com


Join the conversation about this product
Here you can share what you think about the Watts BT-DPRF-02 Thermostat. If you have a question, first carefully read the manual. Requesting a manual can be done by using our contact form.
reply | This was helpful (4) (Translated by Google)
reply | This was helpful (0)