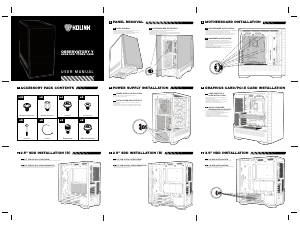
OBSERVATORY Y
ARGB MIDI TOWER CASE
USER MANUAL
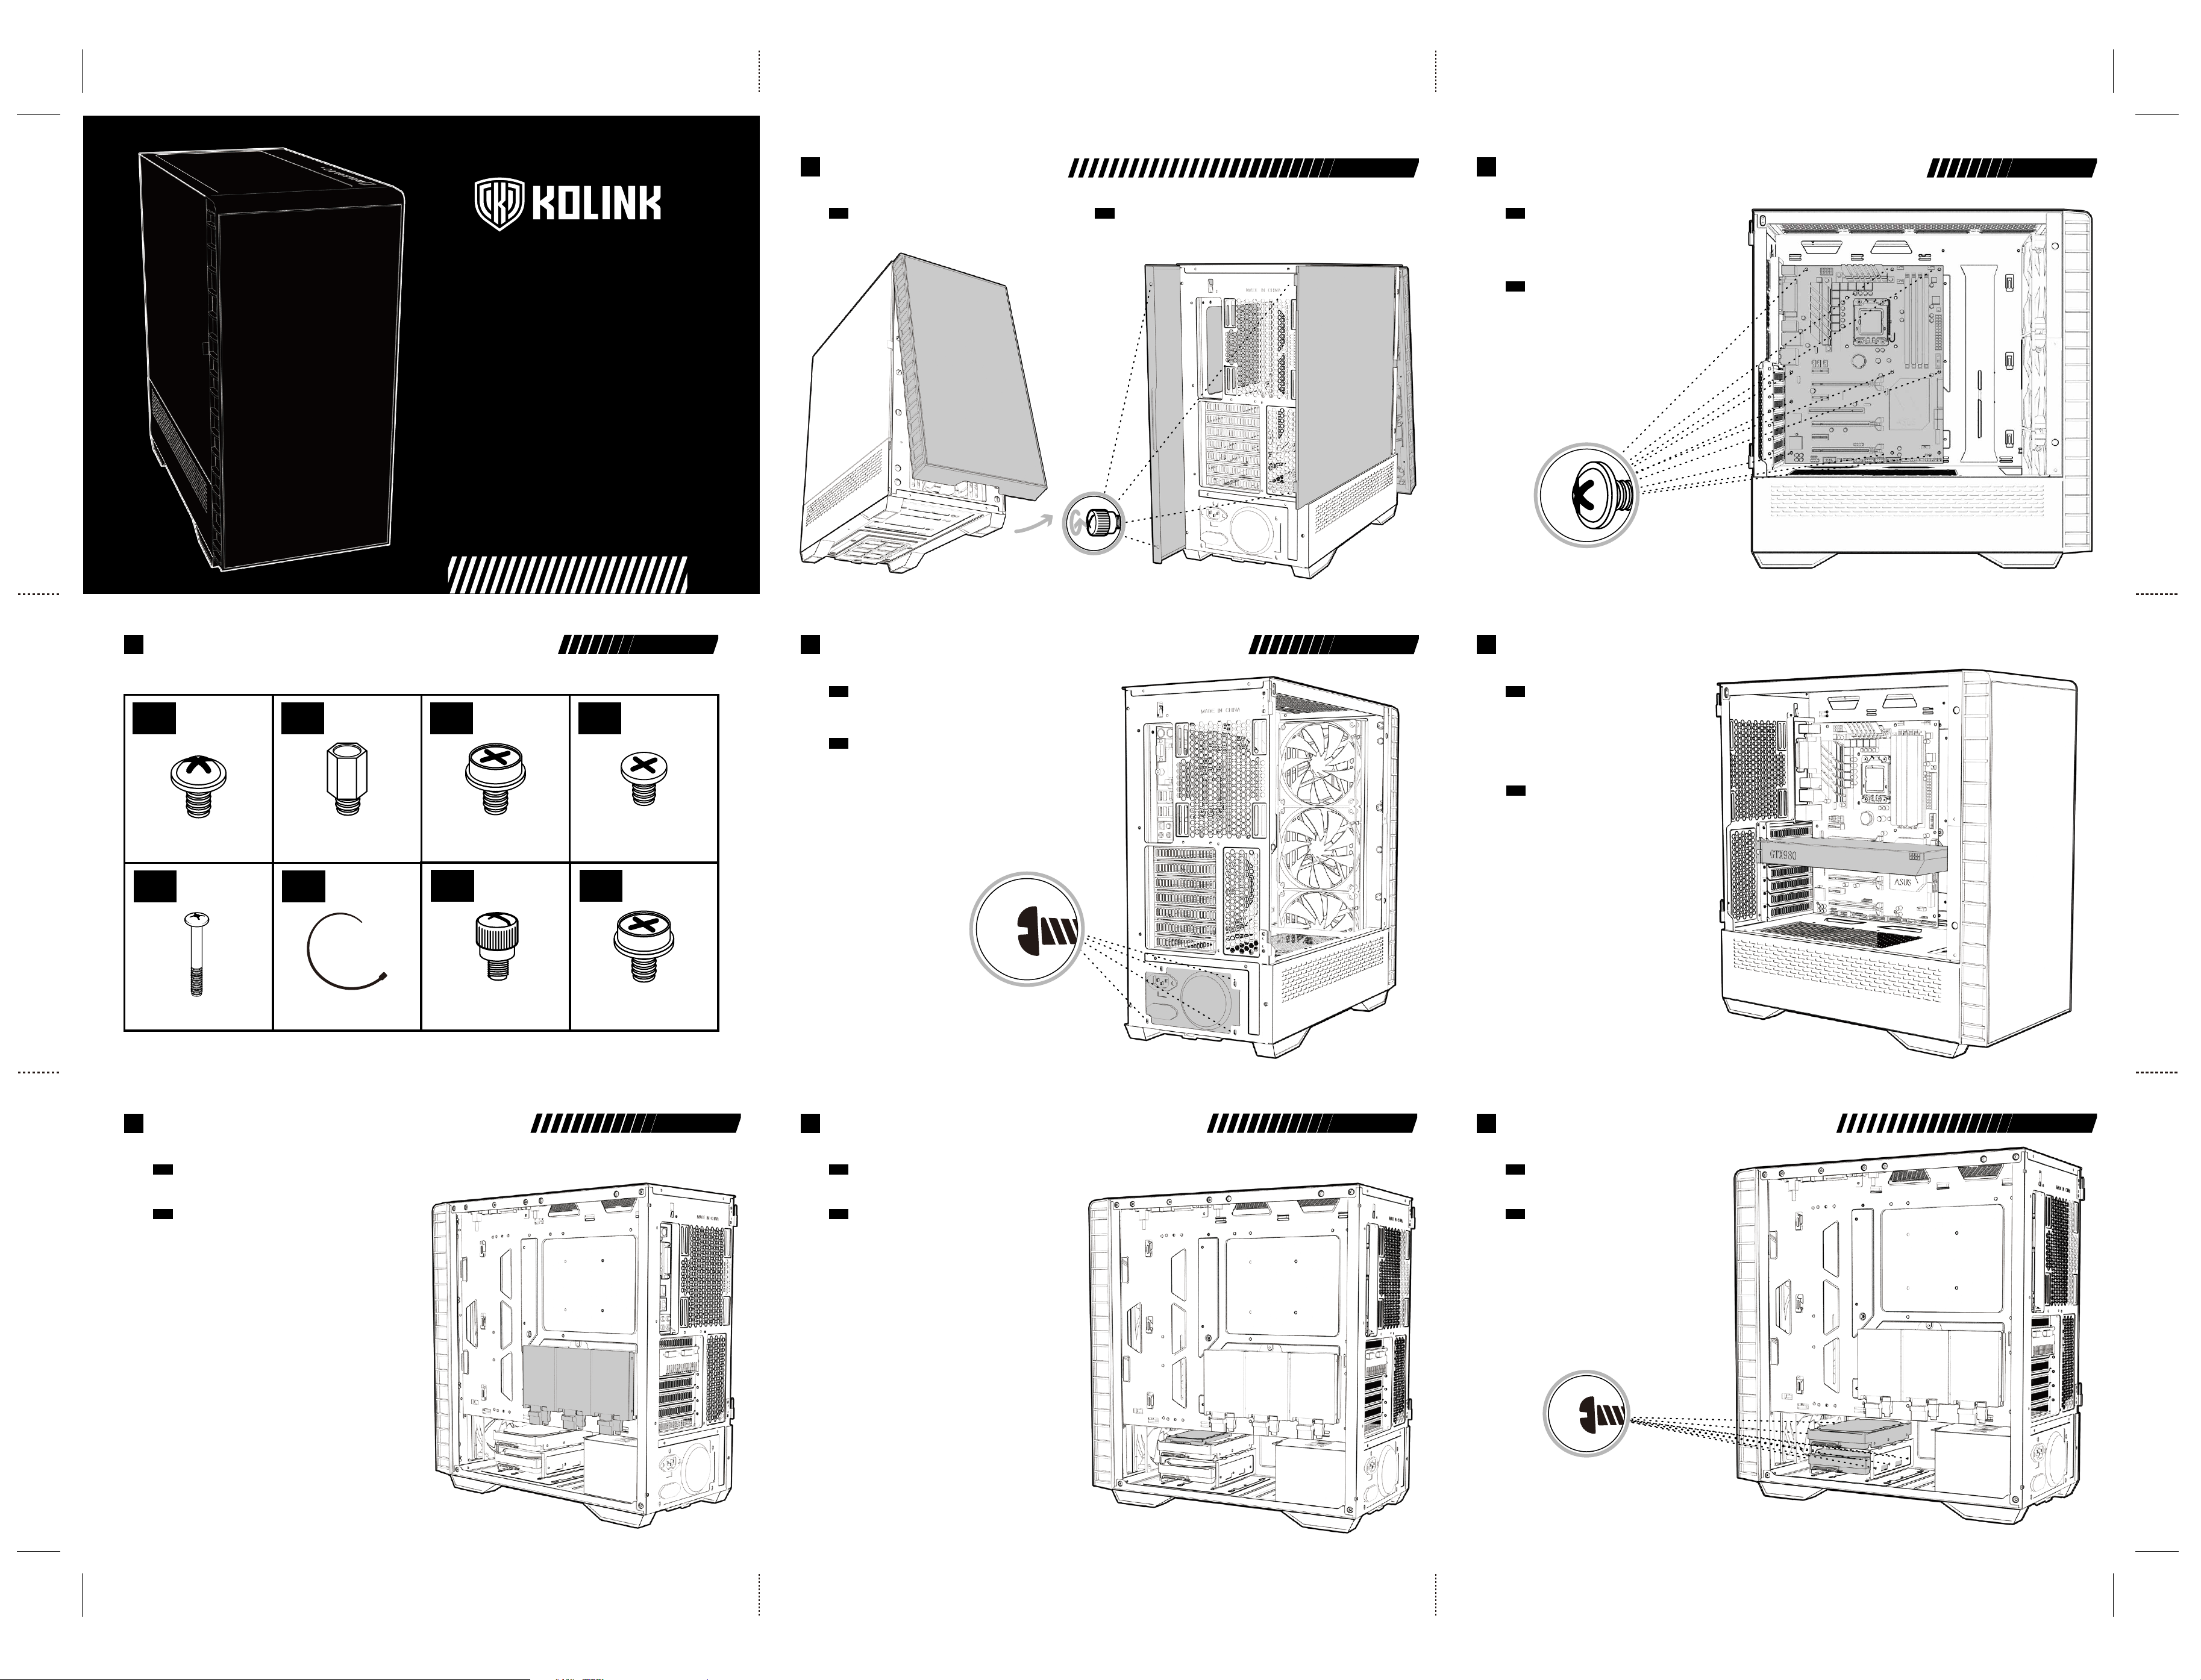
• Left Panel - Pull the tab to open the hinged glass panel and lift off the hinges
• Right Panel - Unscrew the two thumbscrews and slide off.
• Front Panel - Find the bottom cut out, stabilise the chassis with one hand,
and pull from the cutout with a little force until the clips release.
PANEL REMOVAL
EN
• Linkes Paneel: Ziehen Sie an der Lasche, um die Seitentür zu öffnen und
heben Sie sie anschließend aus den Scharnieren.
• Rechtes Paneel: Entfernen Sie die beiden Rändelschrauben und ziehen Sie das Paneel ab.
• Vorderes Paneel: Greifen Sie in die Einbuchtung an der Unterseite des vorderen Paneels
und ziehem Sie es mit ein wenig Kraft nach vorne.
ENTFERNEN DER SEITENTEILE
DE
• Align your motherboard with the chassis to locate where the stand-offs should be installed.
Once done, remove the motherboard and fasten stand-offs accordingly.
• Insert your motherboard I/O plate into the cutout at the rear of the case.
• Place your motherboard into the chassis, making sure the rear ports fit into the I/O plate.
• Use the provided motherboard screws to attach your motherboard to the chassis.
MOTHERBOARD INSTALLATION
EN
• Richten Sie Ihr Mainboard im Gehäuse aus, um festzustellen, wo die
Abstandshalter befestigt werden sollen. Entfernen Sie anschließend das
Mainboard und verschrauben Sie die Abstandshalter an den vermerkten Stellen.
• Befestigen Sie das I/O-Shield ihres Mainboards im Ausschnitt an der
Rückseite des Gehäuses.
• Platzieren Sie Ihr Motherboard im Gehäuse und achten Sie darauf, dass die
hinteren Anschlüsse in das I/O-Shield passen.
• Verwenden Sie die mitgelieferten Schrauben Ihres Mainboards, um es an den
Abstandshaltern im Gehäuse zu befestigen.
MAINBOARD INSTALLATION
DE
• Remove the rear PCI-E slot covers as necessary (depending on
the slot size of your card)
• Carefully position and slide your PCI-E card into place, then secure
with the add-on card screws supplied.
• Graphics card can also be mounted vertically using the Vertical
GPU bracket & riser cable kit (sold separately)
VIDEO CARD/PCI-E
CARD INSTALLATION
EN
• Entfernen Sie an der Rückseite des Gehäuses so viele PCI-Brackets
wie für Ihre Grafikkarte/Erweiterungskarte benötigt.
• Positionieren und schieben Sie die Grafikkarte/Erweiterungskarte
vorsichtig in das Mainboard und befestigen Sie sie am
Gehäuse mit den beiliegenden Schrauben.
• Eine Grafikkarte kann auch vertikal montiert werden. Das dafür
benötigte Bracket sowie die PCI-Riser-Karte sind separat erhältlich.
INSTALLATION DER
GRAFIKKARTE/PCI-E-KARTE
DE
PANEL REMOVAL
2
MOTHERBOARD INSTALLATION
3
GRAPHICS CARD/PCI-E CARD INSTALLATION
5
POWER SUPPLY INSTALLATION
4
• Legen Sie das Netzteil in den unteren hinteren Teil des Gehäuses, unterhalb der
Netzteilabdeckung.
• Richten Sie die Gewinde des Netzteils an den passenden Bohrungen im Gehäuse
aus und sichern Sie es mit entsprechenden Schrauben, die dem Netzteil beiliegen.
INSTALLATION DES NETZTEILS
DE
• Place PSU in the bottom rear of the case, within the PSU shroud.
• Align the holes and secure with screws.
POWER SUPPLY INSTALLATION
EN
• Legen oder schieben Sie das Laufwerk auf oder in den HDD-Schacht und befestigen
Sie gegebenfalls mit den mitgelieferten Schrauben.
3.5" HDD-INSTALLATION
DE
• Place the 3.5" HDD into/on top of the HDD bracket and screw in if required.
3.5" HDD INSTALLATION
EN
3.5" HDD INSTALLATION
8
• Entfernen Sie zunächst die Halterung von der Rückseite des Mainboard-Trays, schrauben Sie daran das
Laufwerk fest und befestigen Sie die Halterung wieder an der Rückseite des Mainboard-Trays.
2.5" SSD-INSTALLATION (RÜCKSEITE)
DE
• Remove the bracket from the rear of the motherboard plate, attach your 2.5" drive and then screw back into place.
2.5" SSD INSTALLATION (REAR)
EN
2.5" SDD INSTALLATION (R)
6
2.5" SDD INSTALLATION (R)
7
• Legen oder schieben Sie das Laufwerk auf oder in den HDD-Schacht und befestigen
Sie gegebenfalls mit den mitgelieferten Schrauben.
2.5" SSD-INSTALLATION (RÜCKSEITE)
DE
• Place the 2.5" HDD/SSD into/on top of the HDD bracket and screw in if required.
2.5" SSD INSTALLATION (REAR)
EN
ACCESSORY PACK CONTENTS
1
x32 x6
x8
x4
Motherboard/SSD Screws Motherboard Stand-off
3.5” Drive Screw
PSU Screw
x8
Fan Screw
x6
Cable Tie
x2
Thumb Screw
x2
Add-on Card Screw


Join the conversation about this product
Here you can share what you think about the Kolink Observatory Y PC Case. If you have a question, first carefully read the manual. Requesting a manual can be done by using our contact form.