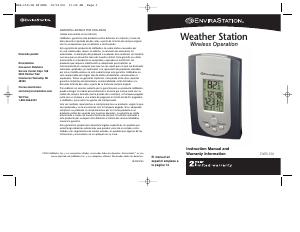
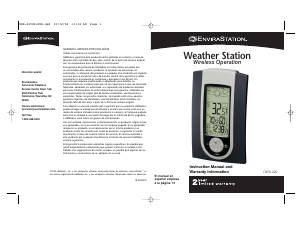
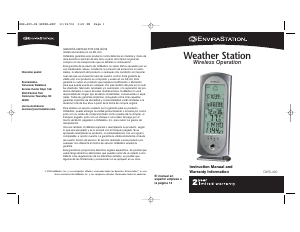
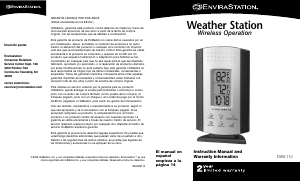
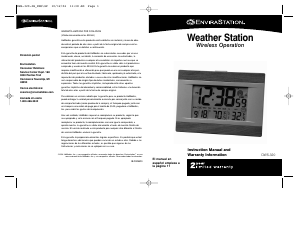
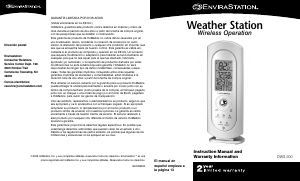
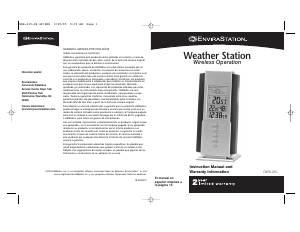
Manual EnviraStation DWS-170 Weather Station
Need a manual for your EnviraStation DWS-170 Weather Station? Below you can view and download the PDF manual for free in English. This product currently has 5 frequently asked questions, 0 comments and has 0 votes. If this is not the manual you want, please contact us.
Is your product defective and the manual offers no solution? Go to a Repair Café for free repair services.
Manual
Loading…


Loading…
Rating
Let us know what you think about the EnviraStation DWS-170 Weather Station by leaving a product rating. Want to share your experiences with this product or ask a question? Please leave a comment at the bottom of the page.More about this manual
We understand that it’s nice to have a paper manual for your EnviraStation DWS-170 Weather Station. You can always download the manual from our website and print it yourself. If you would like to have an original manual, we recommend you contact EnviraStation. They might be able to provide an original manual. Are you looking for the manual of your EnviraStation DWS-170 Weather Station in a different language? Choose your preferred language on our homepage and search for the model number to see if we have it available.
Specifications
| Brand | EnviraStation |
| Model | DWS-170 |
| Category | Weather Stations |
| File type | |
| File size | 0.56 MB |
All manuals for EnviraStation Weather Stations
More manuals of Weather Stations
Frequently Asked Questions about EnviraStation DWS-170 Weather Station
Our support team searches for useful product information and answers to frequently asked questions. If you find an inaccuracy in our frequently asked questions, please let us know by using our contact form.
My weather station prediced it would rain, but this didn't happen. Why is that? Verified
The prediction on the weather station is based on air pressure. In general low pressure means bad weather and high pressure means good weather. It's possible the weather pattern develops differently than the air pressure predicts.
This was helpful (1468) Read moreWhat is the best location for a weather station and its sensors? Verified
The weather station itself is placed inside and needs to be kept away from heat sources such as the kitchen, windows or electrical appliances. A separate outside temperature sensor needs to placed in shadow and at least 1,25m above the ground. A rain sensor needs to be placed in an open area where it can always collect rain. A wind sensor needs to be placed in an open area too, with any obstacles influencing the wind.
This was helpful (394) Read moreMy weather station has a rain gauge, can it also measure the amount of snowfall? Verified
Some rain gauges are equipped with a heating element, making the snow melt and allowing it to be measured. Without heating element the rain gauge will clog and no measurement can be performed.
This was helpful (280) Read moreA battery in my device is oxidized, can I still safely use it? Verified
Ja, the device can still be safely used. Firstly, remove the oxidizd battery. Never use bare hands to do this. Then clean the battery compartment with a cotton swab dipped in vinegar or lemon juice. Let it dry and insert new batteries.
This was helpful (279) Read moreCan I leave a replacable battery in a device for a long time? Verified
Replacable batteries can remain in a device for a long time if the device is in use. When a device is being stored for a long time it is advisable to remove the batteries to prevent oxidation.
This was helpful (279) Read more

Join the conversation about this product
Here you can share what you think about the EnviraStation DWS-170 Weather Station. If you have a question, first carefully read the manual. Requesting a manual can be done by using our contact form.