GB-1 GB-2 GB-3
UNPACKING
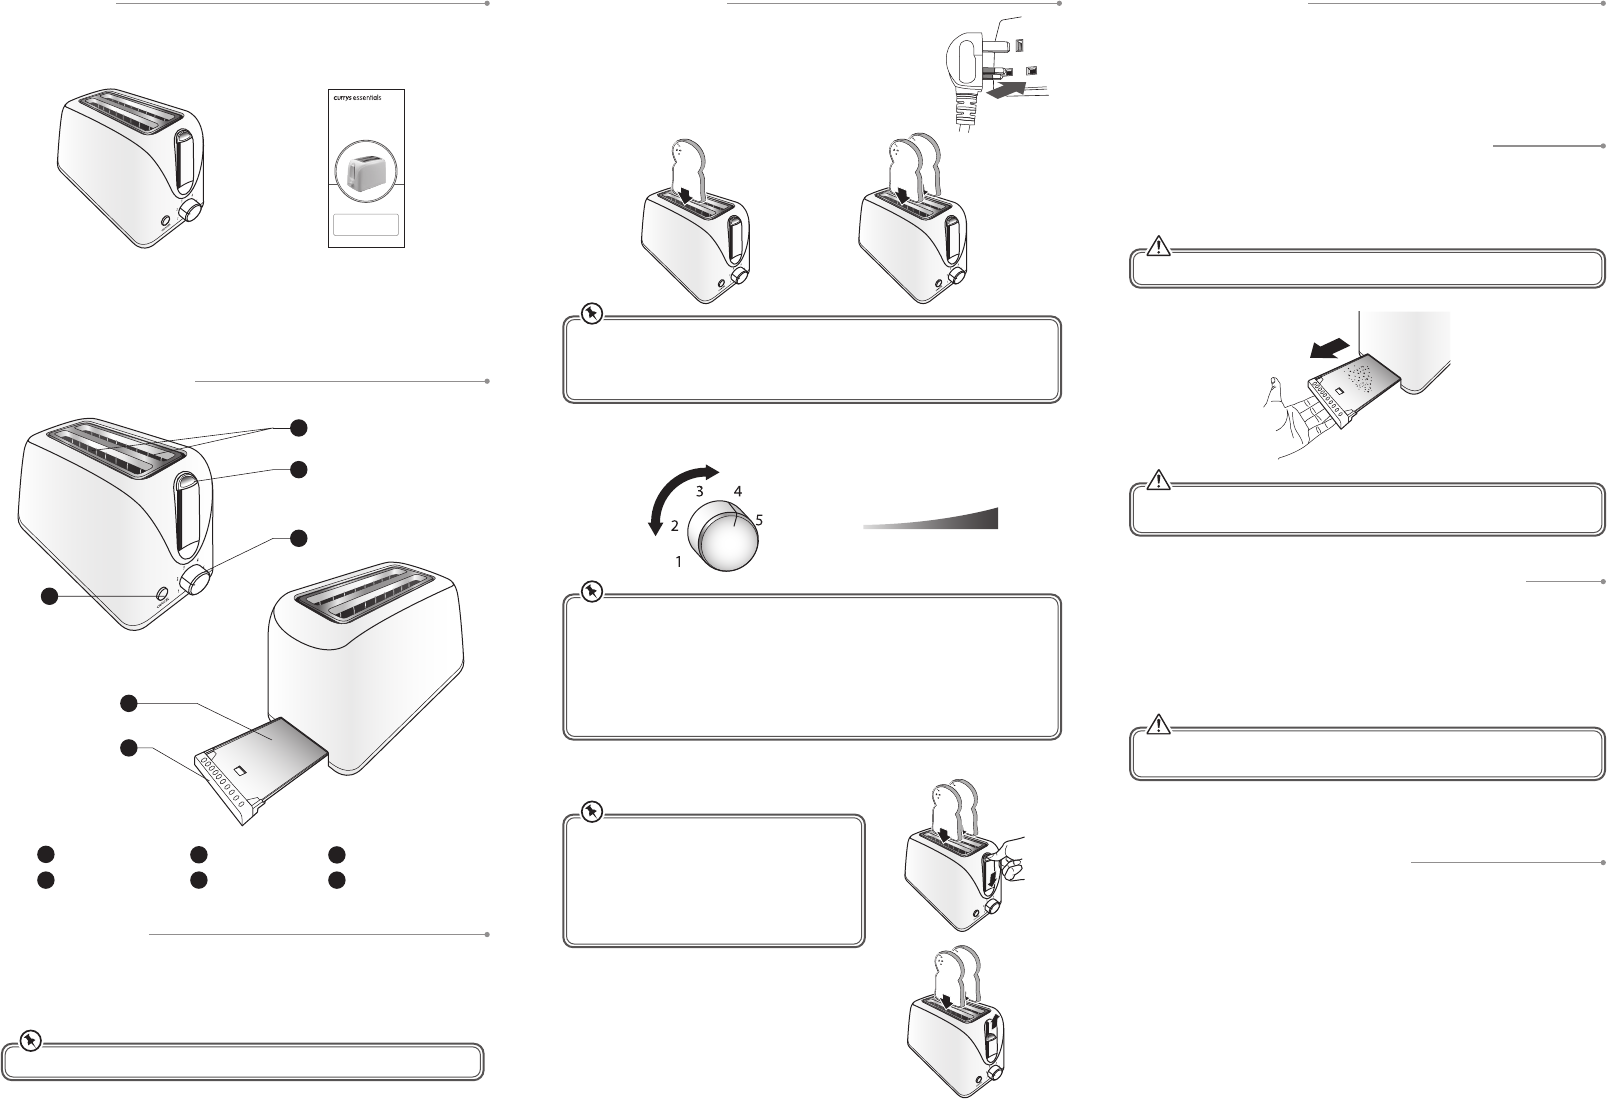
Remove all packaging from the unit. Retain the packaging. If you dispose of it please do
so according to local regulations.
The following items are included:
If items are missing, or damaged please contact Partmaster (UK only).
Tel: 0844 800 3456 for assistance.
• The Main Unit • Instruction Manual
(P.N.: C02TW12-001)
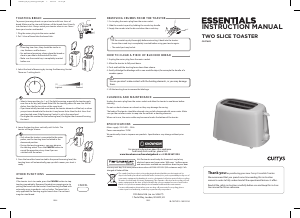
TOASTING BREAD
To prevent jamming do not use your toaster with torn slices of
bread. Make sure the size and thickness of the bread slices t
easily into the toast slots. Always watch your toaster when in
use. Never leave your toaster unattended.
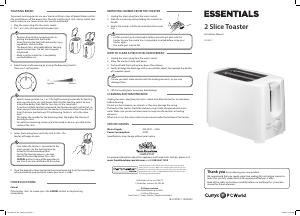
1. Plug the mains plug into the mains socket.
2. Put 2 slices of bread into the bread slots.
OTHER FUNCTIONS
Cancel
If the toaster starts to smoke, press the CANCEL button to stop toasting immediately.
Remove all protective wrapping prior to putting the bread into the toaster. Avoid
toasting the food with extremely runny ingredients such as butter. The bread slot is only
applicable for toasting regular bread slices. Do not toast irregular sized bread.
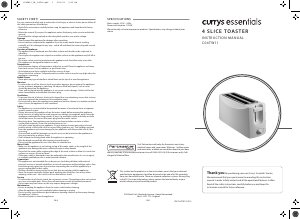
REMOVING CRUMBS FROM THE TOASTER
1. First unplug the mains plug from the mains socket.
2. Slide the crumb tray out by holding the crumb tray handle.
3. Empty the crumbs into the bin and clean the crumb tray.
CLEANING AND MAINTENANCE
Unplug the mains plug from the mains socket and allow the toaster to cool down before
cleaning.
Do not use harsh cleaners or solvents as they may damage the casing.
The body of the toaster should be cleaned using a cloth dampened with warm water.
Make sure you do not allow water to seep into the controls or heating elements.
When not in use, the mains cable may be wound under the bottom of the toaster.
HOW TO CLEAR A PIECE OF BLOCKED BREAD
1. Unplug the mains plug from the mains socket.
2. Allow the toaster to fully cool down.
3. Push and hold the toasting lever down then release.
4. Gently dislodge the blockage with a non-metallic object, for example the handle of a
wooden spoon.
FIRST TIME USE
Please note there may be manufacturing residue or oil remaining in the toaster or heating
element. Odour may be emitted the rst time you use it. This is normal and will not occur
after using your toaster several times. The rst time you use your toaster we suggest that
you operate it without bread.
PRODUCT OVERVIEW
1
• If toasting two slices, they should be similar in size, thickness and freshness.
• For optimum browning, always place the bread as close as possible to the centre
of the slots.
• Make sure the crumb tray is completely inserted before use.
• Select a lower position (i.e. 1 or 2) for light browning, especially for toasting only one
slice or for dry (old) bread. Note that the toasting colour for one slice will be darker
than that for two slices at the same level.
• If you have initially toasted some bread, the toaster elements will be hot, so when
you put more bread into the toaster it may brown faster than the rst slices that
were toasted, even if the Browning Control is set to the same level.
• The higher the number for the browning level, the higher the chance of burning the
toast.
• Only when the toaster is connected to the
mains power, can the toasting lever be locked
in the downward position.
• During the toasting process, you may observe
the toasting colour. Press the CANCEL button
to cancel the operation at any time if you are
satised with the colour.
The rst time you use your toaster, we suggest that you operate it without bread.
3. Select the level of browning by turning the Browning Control.
There are 7-setting levels:
4. Lower the toasting lever vertically until it clicks. The
toaster will begin at once.
5. Once the bread has been toasted to the preset
browning level, the toasting lever will automatically
pop up which means your toast is ready.
(1) (7)
DarkestLightest
Let the crumb tray dry thoroughly before reinserting it back into the toaster.
Ensure the crumb tray is completely inserted before using your toaster again.
The metal part may be hot.
Ensure you don’t make contact with the heating elements, as you may damage
them.
5. Lift the toasting lever to remove the blockage.
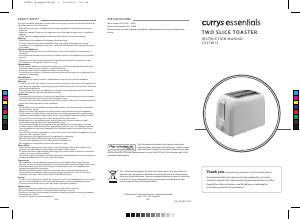
1
2
3
Toasting Lever
2
Crumb Tray
5
Browning Control
3
6
Crumb Tray Handle
Toast Slots
1
4
CANCEL Button
4
5
6
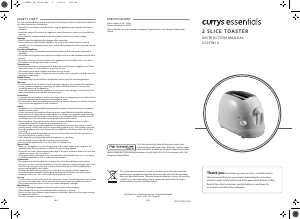
TWO SLICE TOASTER
INSTRUCTION MANUAL
C02TW12
Thank you for purchasing your new Currys Essentials Toaster.
We recommend that you spend some time reading this instruction
manual in order to fully understand all the operational features it offers.
Read all the safety instructions carefully before use and keep this
instruction manual for future reference.
C
M
Y
CM
MY
CY
CMY
K
C02TW12_IB_ready120523.pdf 2 23/05/2012 11:27 AM


Join the conversation about this product
Here you can share what you think about the Currys Essentials C02TW12 Toaster. If you have a question, first carefully read the manual. Requesting a manual can be done by using our contact form.